What is Prison Stompy? / The Basics
A response to a combo-filled meta.
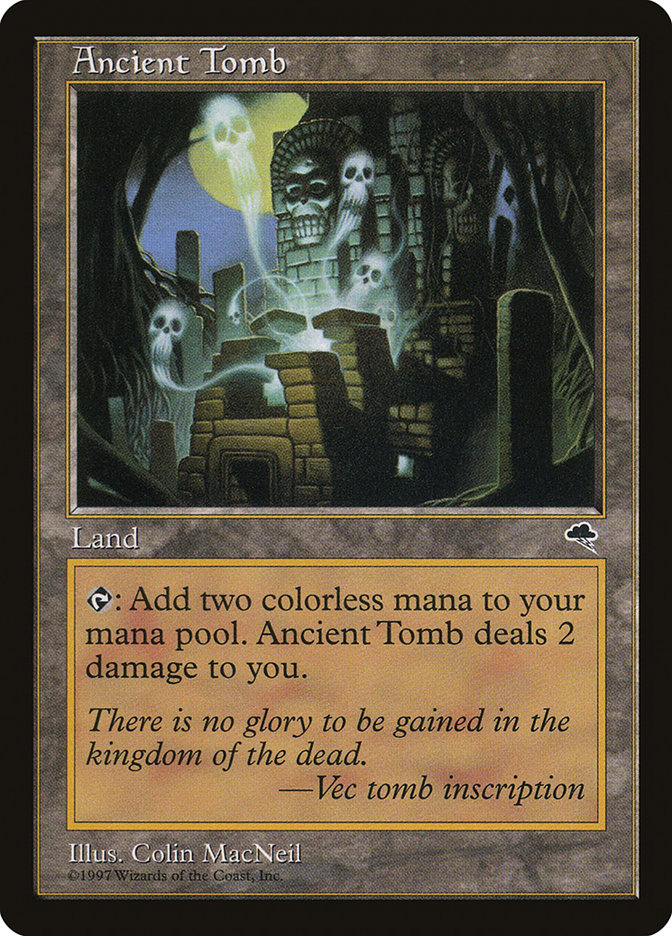
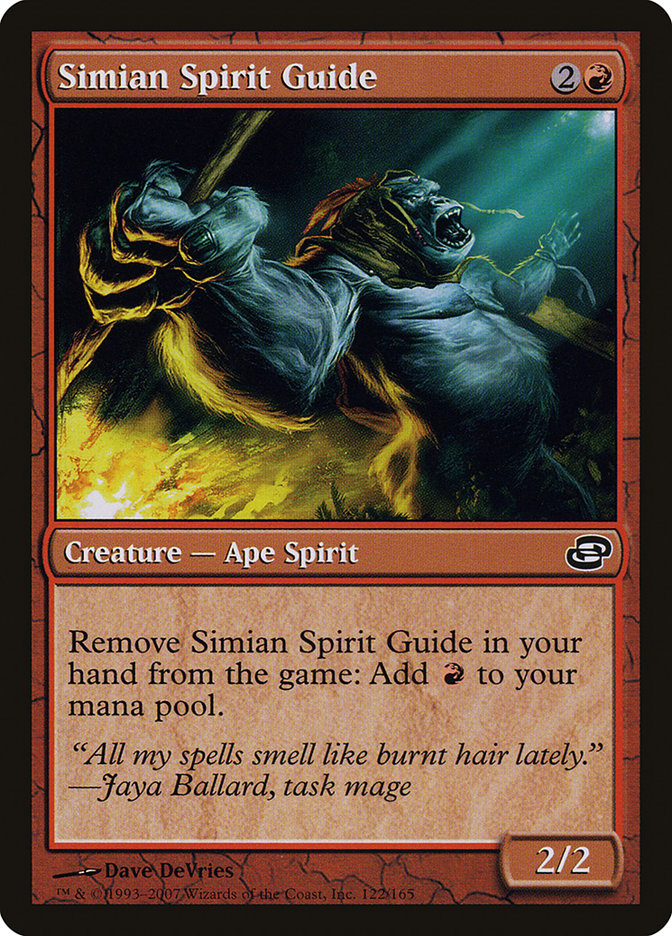
Stompy decks date back to the early days of Magic, notably being the deck piloted by Svend Geertsen to a top 4 finish in the 1997 World Championship. The archetype has taken many different forms over the years. However, the core concept has remained the same: play efficient threats alongside disruptive game pieces to defeat your opponent. The most recognizable form of Stompy today is Legacy’s Mono-Red Moon Stompy, which leverages acceleration including Ancient Tomb and Simian Spirit Guide to power out threats like Pyrogoyf and Caves of Chaos Adventurer alongside The One Ring, Blood Moon, and other disruption. Canadian Highlander’s Prison Stompy is similar but also draws inspiration from other decks in Legacy and Vintage that abuse artifact interactions, such as Red Painter and Workshop & Taxes.
Prison Stompy has emerged from various archetypes attempting to abuse Ancient Tomb and similar forms of acceleration. Noah Wick, who largely founded the archetype with this list, identifies Prison Stompy as a sub-archetype of Scraps, which describes a game plan of utilizing artifact game objects to enable various engines and undercosted effects. (For further information on Scraps, refer to writings by Noah, saff, Tim, and Noah again.) I came to the deck from the Stompy side, trying to adapt Turbo Initiative to a meta full of fast combo and blue-based midrange, but have landed on a very similar list.
The basic Prison Stompy game plan is relatively simple – use fast mana to play efficient threats and make them hard (or impossible) to answer by following them up with disruption and efficient removal. The deck is also designed to sustain a grindier game plan, using various tools to repurpose prison pieces that have lost relevance. This flexible game plan is somewhat similar to blue-based Tempo, but with a heavy emphasis on early acceleration and tax effects instead of card selection and stack-based interaction. While simple on the surface, the deck heavily rewards experience, particularly around mulligan decisions, sequencing, and evaluation of prison pieces.
Beyond the Basics
Prison Stompy is an extraordinarily versatile deck. It’s capable of outpacing most aggro decks and out grinding control, while also keeping combo decks in check. To do each of those consistently the deck must be fast, proactive, and capable of making most draws relevant on any given board state. Fast mana enables early threats and helps break parity on our prison pieces. Since so much fast mana is colorless, we’re naturally drawn to low-pip cards and artifacts to fill our threat and engine slots, and we’re further rewarded for including more artifacts by playing ways to sacrifice or reuse prison pieces (which are mostly artifacts) in the mid- to late-game.
Card Choices
Acceleration
The core of the deck relies upon gaining an early mana advantage over our opponent. To this end, we play every reasonable piece of acceleration and some unreasonable pieces of acceleration that don’t make the cut elsewhere. We try to use this early mana advantage to build a strong board presence and slow down our opponent’s game plan, often accelerating out cards that do both.
The acceleration we play is also a key structural component to the deck. Any card that produces two mana more than once is secretly card advantage. This tempo-positive card advantage is a major strength of the list that allows us to mulligan aggressively without falling behind in most matchups.
Threats
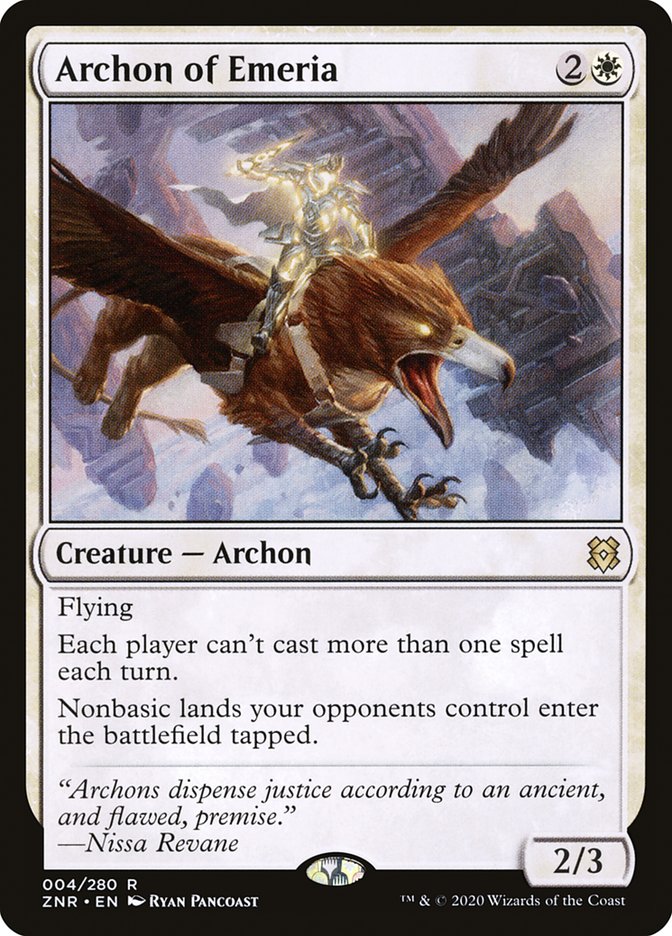
Like most decks, we want to play the highest-quality threats. Single cards that end games quickly, are difficult to answer, or otherwise provide us with significant advantage. Our acceleration lets us play with a higher mana curve than many aggressive lists. However, that acceleration (being largely colorless) can make it difficult to support colored pips in the casting costs of our threats. To maximize the utilization of our accelerants, cards with mana value four or less should have at most one pip in their casting costs. Cards with mana value of five or greater can have up to two pips. Phlage, Titan of Fire’s Fury, Carnage Interpreter, and Cloud, Midgar Mercenary are some of the rare exceptions to this rule. Generally, we seek to include three types of threats: those that generate exceptional pressure or card advantage on their own, those that disrupt our opponent’s plans, and those that synergize with the artifact sub-theme.
Disruption
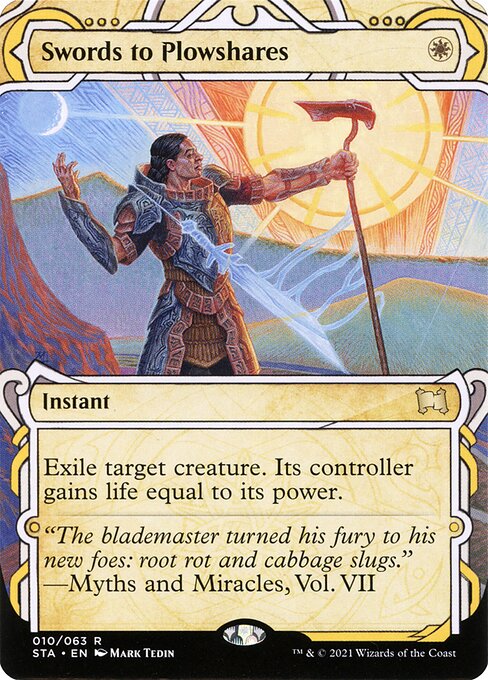
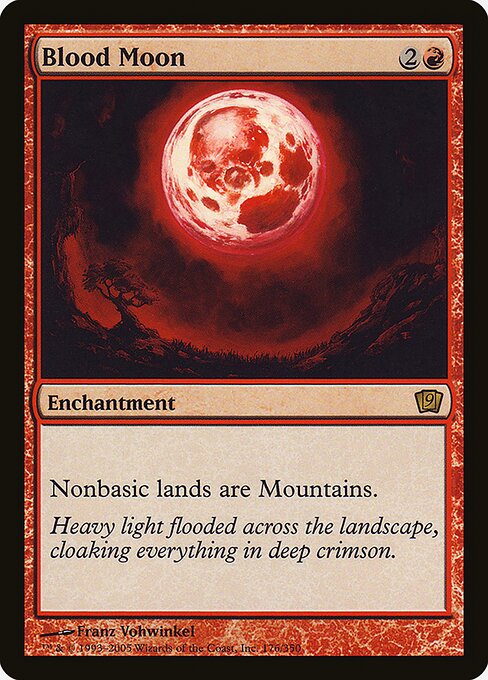
Disruption can broadly be broken into two types: reactive disruption played after (or in response to) an opponent‘s action and proactive disruption played in an attempt to prevent an opponent’s future action. Most of our disruption is proactive (Tangle Wire, Blood Moon, Trinisphere), though we do play a fairly standard suite of reactive removal to maintain early pressure and clear out any game pieces that may disrupt us.
Individual pieces of disruption will vary in usefulness by matchup and board state. To mitigate this variability, the list includes alternative ways to use these resources and tutors to get the more meaningful game pieces. This flexibility also allows us to run disruption that’s highly targeted to a specific matchup without those same cards being entirely dead in other matchups.
Artifact Synergies
Mishra’s Workshop is probably the most busted non-pointed acceleration in Canadian Highlander. All it asks is that we play lots of artifacts to make use of its mana. Lists tend to play 15-18 artifacts with at least two generic mana in their casting costs and five or so artifacts with just one generic mana in their casting costs.
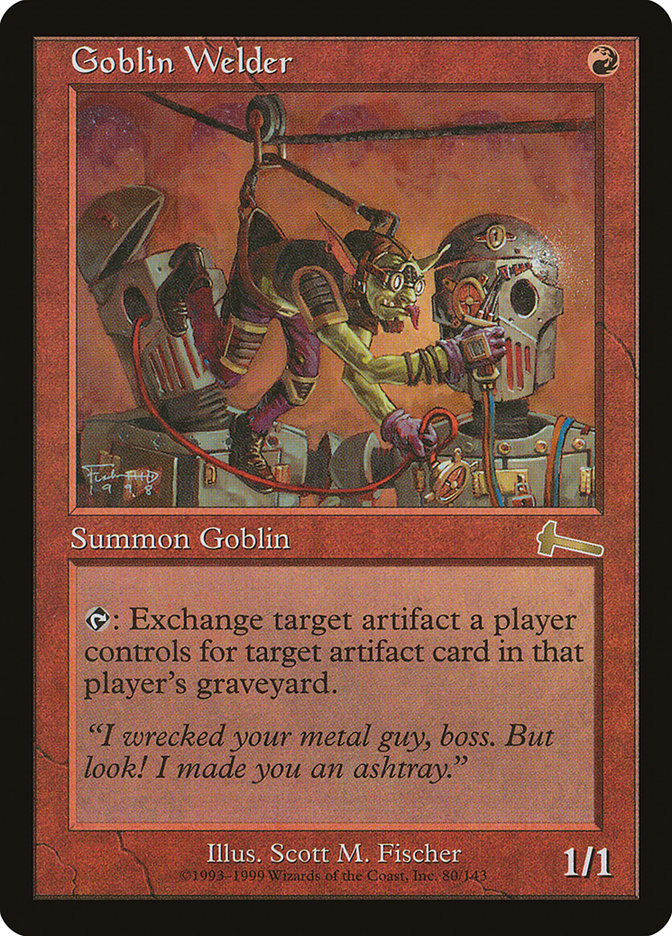
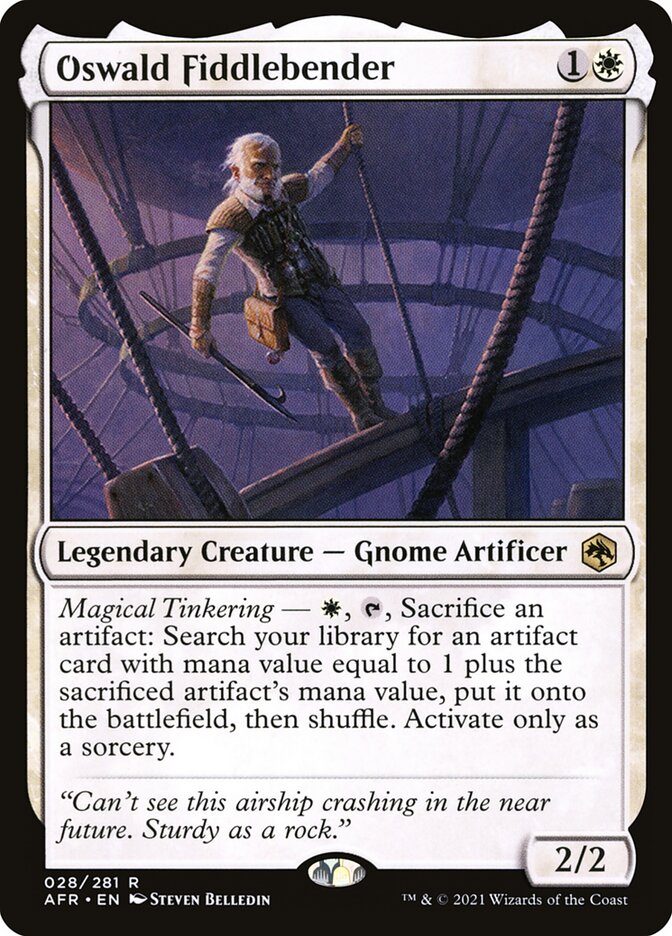
We also have ways to find, use, and re-use our artifacts. Enlightened Tutor gets almost anything we need, whether that’s fast mana to get off the ground, a specific piece of disruption, or a threat or engine to end the game. Being able to grab an artifact land or an enchantment (Blood Moon, Fable of the Mirror-Breaker, or even Urza’s Saga) expands the toolbox available to us. Oswald Fiddlebender has similar utility, capable of finding a wide range of tools for almost any situation. Sacrificing artifacts to Broadside Bombardiers or Gut, True Soul Zealot can close out a game, and it’s even better when we can rebuy them using Goblin Engineer, Goblin Welder, or Emry, Lurker of the Loch.
Colors
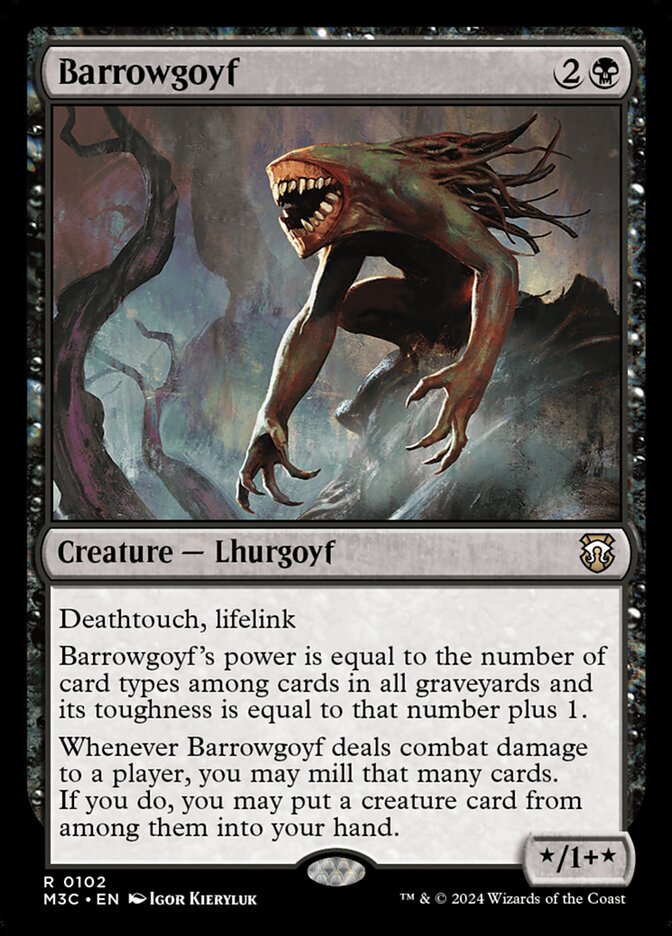
The deck is firmly base red white. Red provides efficient threats and artifact synergies while white provides disruptive threats and the best removal. We also want a small splash of 2-8 cards in a third color for additional high-quality single-pip cards (Tamiyo, Inquisitive Student, Barrowgoyf), surveil lands, and access to more fetch lands. Black is the most common splash, though Jeskai, Naya, and Jund versions have also been explored.
Points Considerations
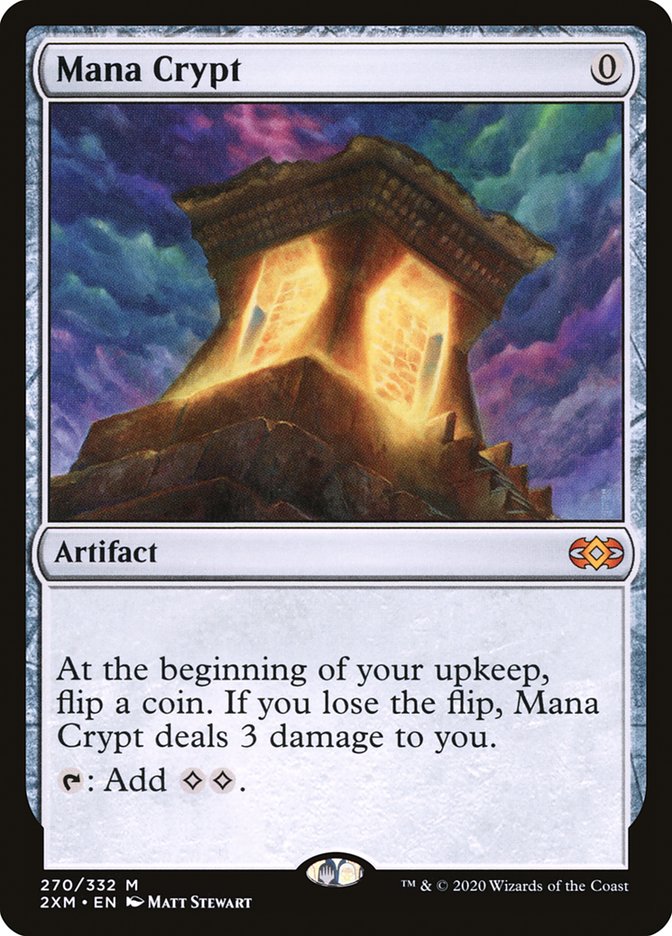
Most of our points are spent on the fast mana that enables our core strategy. Mana Crypt, Sol Ring, and Ancient Tomb are nine points well spent, leaving us one remaining point to put towards supporting the deck in other ways. Strip Mine can be included to support mana denial. Urza’s Saga can end games on its own with the density of artifacts we play. Mana Vault has started seeing play to increase the frequency of casting turn one three drops or turn two four drops (and in part due to the recent release of Tezzeret, Cruel Captain). Previous iterations of the deck have even played Balance, Forth Erolingas!, or Reanimate. In short, there are plenty of ways to customize the point spread past the fast mana core.
Play Patterns
Matchups
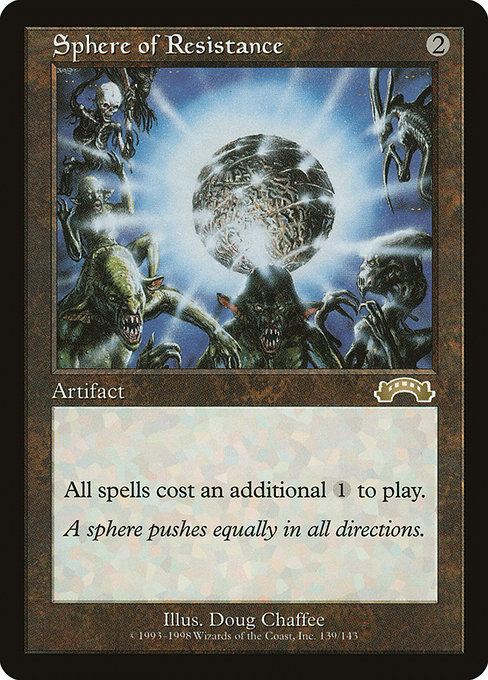
The usefulness of our various strategies and disruption effects varies greatly depending on the deck our opponent is playing. Sphere of Resistance is great against Breach Storm but likely isn’t doing much against most Academy lists. No matchup has felt heavily unfavorable, but many need a good understanding of the strategies, hands, and tools to prioritize. Be prepared to switch your role mid-game as your draws and your opponent’s plays dictate.
The key aspect to understand in board-based matchups is how our early threats compare to the threats and removal played by our opponents. If our early threats outclass our opponent’s, we can play a turbo aggro gameplan. Otherwise, we should aim for more stable midrange plays.
In matchups that are less board-based, we need to understand how well our pressure and disruption line up into our opponent’s plans. Taxes tend to be effective in these matchups but rarely close a game without supporting pressure.
Aggro (aggro, blitz, D&T, stompy): Our goal is to survive until we can land an engine or can otherwise rely on our synergies to outpace aggro in card advantage. Lower-curve aggro is an easier match up as our average top deck tends to be more impactful than theirs.
Midrange (midrange, “lowrange”): Midrange is our hardest match up, though only somewhat unfavorable. Midrange decks play a higher volume of stand-alone threats and engines, making them favored if we’re top decking on an even board. The correct strategy tends to be draw dependent on both sides but lean towards hands with stable acceleration and engines.
Control (control, tempo): Our strategy into control is to constrain their resources early through taxes, double spelling, and consistent two-for-ones. The fewer resources (mana, cards, turns) we allow the control player to put into card selection the better, though some of our engines are capable of out grinding theirs, assuming we get to resolve them.
Combo (too many to list): The good news is our deck is designed to bully combo. Bad news though, combo in Canadian Highlander is incredibly diverse and combo decks tend to be either incredibly consistent or play alternative game plans quite well. The key to beating combo is knowing what of our disruption is effective against their main plan and what tools we have against their backup plans. Typically, we’ll want to be applying high pressure early alongside one or two relevant pieces of disruption. Most combo decks don’t like their selection to be slowed down by our tax effects.
Mulligans
Aggressive mulliganing for potential high rolls is highly recommended. We will also need to mulligan some hands due to a lack of stable mana. This is the main disadvantage of our acceleration suite and low land count. Virtual card advantage from Ancient Tomb and friends offset some of the card loss from mulliganing while also giving us explosive starts. Playing seven cards that make two mana gives us about a 40% chance to see one in any given hand. Hands without acceleration should generally be rejected at seven or six unless they’re incredibly strong or have key tools for the matchup. Top players of the archetype report mulliganing more than 50% of sevens and 40% of sixes. The deck has previously included Serum Powder to take advantage of the high mulligan rate, though the card is overall unimpressive.
Sequencing
Once you’ve found an acceptable hand, a new challenge appears. Do you jam Blood Moon turn two while your opponent has no basics or are you better off casting Breya’s Apprentice? Without knowledge of your opponent’s hand or future draws, it’s impossible to know which is the right choice. In general though, disruption on its own is unlikely to win games. If your disruption is unlikely to invalidate your opponent’s next turn or you’ll be unable to follow it up with a threat, consider setting up pressure first. We can use certain prison pieces to stall if we need to, but Tangle Wire is a lot better when you have a few creatures on board to break symmetry and apply pressure.
We also have to accept that our prison pieces will disrupt our own game plans occasionally. I’ve lost games to being a mana short of lethal due to my own Trinisphere and to Blood Moon keeping me off a color. Sometimes it’s the right call to slow ourselves down to disrupt our opponent. Learning when to cast our disruption and when to slam a threat takes experience and sometimes taking the optimal line will be the reason you lose the game. Our sac outlets give us ways to get out from under some prison pieces that have become more disruptive to us than our opponent but won’t always be there to save the day.
A note on fetching – Being a 2.5-color deck that plays both Blood Moon and significant levels of colorless and mono-colored lands can make optimal fetch sequencing difficult. The deck can operate off of very few colored sources since we choose to be relatively pip light to enable our acceleration, with around 85% of cards castable from a single land that produces red and white (ignoring mana value).
Other Resources
If you’ve made it this far, I hope I’ve managed to interest you in playing the deck. If you’re still unsure, consider taking a look at my mulligan tracker and Cockatrice replays.
Also, consider checking out Noah’s commentated games or my primer, which goes into greater detail on card choices, matchups, and sequencing.
Resources referenced earlier:
Want to talk about Prison Stompy? Find us on the Canadian Highlander Discord (we tend to chat in the Welder & Scraps channel).
About the author:
Hi! I’m Geo, manageorge in most places. My go-to Canadian Highlander deck is Prison Stompy, though I have a long history of playing boomer Control. I also maintain a tournament helper Discord bot known as TOB(y).